How to Create a full Windows 10 Image Backup?
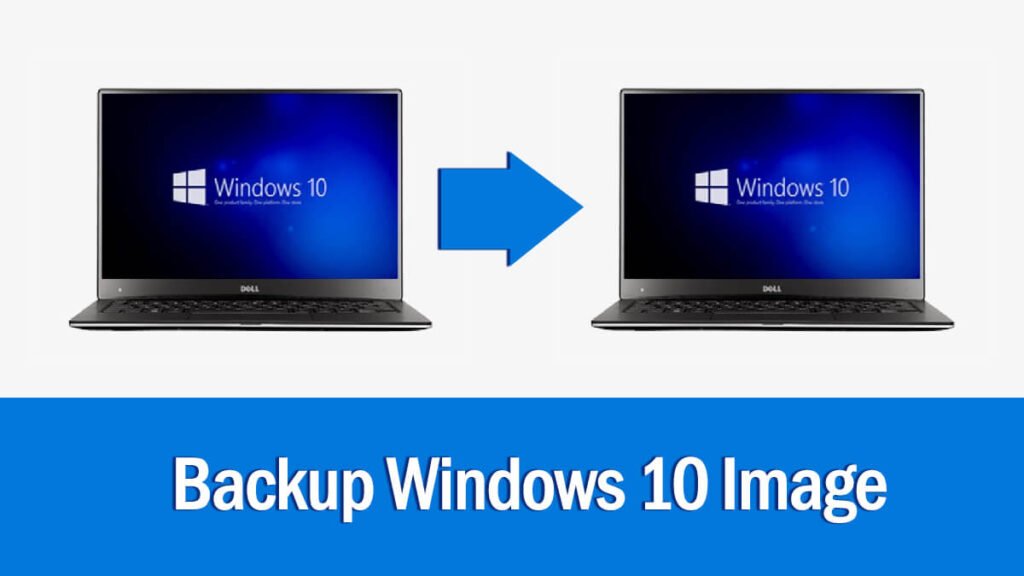
If you don’t have any recovery plan on your system then in situations like hardware failure, malware attacks, or while upgrading in the next major update then you might lose all of your data. Having a system with corrupt files (due to any reason) without any backup puts your data and your entire system at the risk of being lost forever. Here you are going to create a full image backup of Windows 10.
There are different ways to have a backup of your files. The first option is to upload your data on Cloud Storages. You will upload your files on Cloud Storage like Dropbox, Mega.NZ or Media Fire and can easily access the files from anywhere.
And there is the offline backup where you store your entire Windows OS with Settings, Apps, Files, and Folders in a single Image File. For offline backup, you can use third-party applications and as well Windows 10 Image Tool which is basically a built-in tool inside Windows 10.
The Image file can be used if you have lost your system or your system got corrupted. You can easily use the Image File to restore your system to the point that you have backed up as well as your files too.
Related Topic: Download Windows Media Creation Tool for Windows 10
How to create a backup file of Windows 10?
For creating Windows 10 Image backup, you will need to have access to either an external drive or network shared folder. It is recommended and most preferred to use a Removal Storage instead of a network shared folder.

To start, you will go to Settings > Update & Security > Backup. There you will find Looking for an older backup? option. Below this, you will find Go to Backup and Restore (Windows 7) option, click on it.

Back up or restore your files window will appear, click on the Create a system image option which is on the left side of your window.
You will be asked “Where you want to save the backup?”. you will select the On a hard disk option then in the drop-down menu, you will select the removal storage and click on Next.
Note: make sure your removal storage is NTFS. You should use storage with NTFS format, others won’t be compatible or supported by the system.
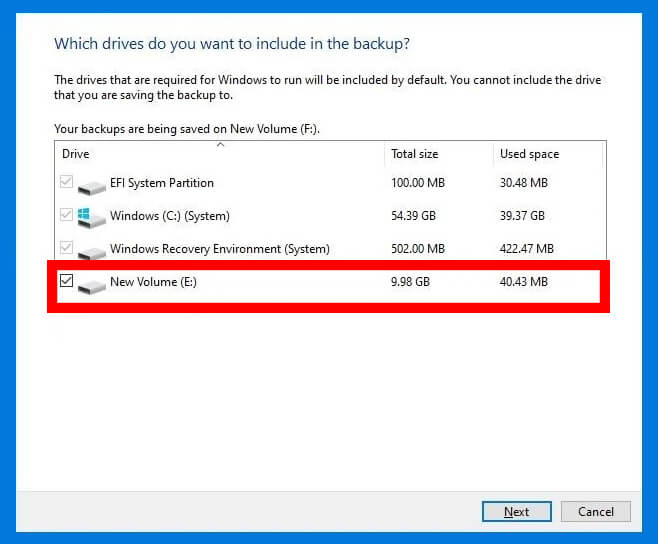
In the “Which drives do you want to include in the backup” window, you will select any other driver on your system that you want to create a backup of. Remember that, this is totally optional; if you don’t want to create any backup of your secondary drives then you can leave this section. Once selected, you will click on Next.
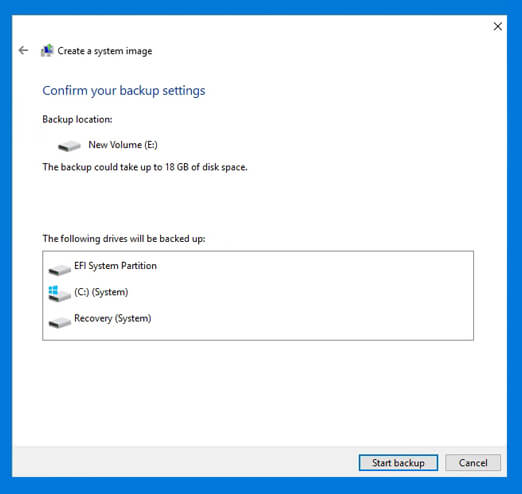
Let take the creation of Backup Image by clicking on the Start backup option in Confirm your backup settings. Here a prompt will appear asking permission for creating a system repair disc. If you need a system repair disc then you can allow it or you can click on No.
Now click on the Close button.
You to keep in mind that the system uses “Shadow Copy” for the creation of Image Backup. It means that you can use your desktop in any manner that you like. Just don’t shut down your system and the system will create Windows 10 Image Backup for you.
in the process of Image creation, you can use other applications on your system as well as navigate and use files too.
Related Topic: How to Upgrade from Windows 10 to Windows 11?
How to restore a backup Image of Windows 10 on any system?
Once you have created a backup Image then you can use that files on any system that you like. Here is how to restore one on any system.
First, you will insert your USB into any system and will restart it.
Reminder: you will need to change the booting sequence in the BIOS or UEFI to removal storage, as you will need to boot your USB that has a backup Image of Windows 10 in it.
While your system boots, you will be asked to “Press any key to continue…” to boot the USB. Use any key on your keyboard to boot the USB.
Then you will be placed in Windows setup. Select the Language to install, Time and Currency Format, and Keyboard or input method and click on Next.
In this step, you are in Install now. Click on Repair your computer and you have placed in Choose an option.
Click on Troubleshoot and then select the System Image Recovery option in Advanced options.
Here in System Image Recovery, select Windows 10 option.

Re-image your computer will open with Select a system image backup on the top. Select the Use the latest available system image (recommended) option then insert Location, Date and time, Computer, and in the end, click on Next.
Note: if you possess multiple backups of your Windows 10 from different times on your USB then you will need to select the second option (Select a system image).
After selecting the backup, you will perform formatting and repartition of disks on your system.
Note: if you don’t want to format your secondary disks then you will need to select Exclude disks to prevent formatting.

Choose additional restore options will appear and two options will be provided. There are Format and repartition disks and Only restore system drives. You can understand the options from their names, select the second option and click on Next.

Your computer will be restored from the following system image will appear here. Different info needs to be inserted here, insert Date and time, Computer, Drives to restore, and click on Finish.
In the next window click on Yes.
Once all the installation got completed, you can enjoy the Windows 10 that you have created a backup of. The only task that requires after the installation, is to check for the updates. To check for the updates, you can go to Settings > Update & Security > Windows Update, and there you will find the Check for Updates option. Click on it and your Windows 10 starts updating. Creating and installing Windows 10 Backup Image on any system is like cloning an entire system on any other system with apps, settings, and files.
Related Topic: How to Convert MBR to GPT without data loss on Windows 10?
