Install Windows 11 on a New PC – Easily Do the Installation
Setting up a new PC is an exciting venture, but when you’re dealing with a machine that doesn’t have an operating system installed, it can feel a bit overwhelming. Don’t worry—getting Windows 11 up and running on a new PC without an operating system isn’t as complicated as it seems. In fact, once you understand the process, it’s a straightforward task that can be done in a few simple steps.
Whether you’re upgrading your hardware or starting fresh with a custom-built rig, knowing how to install Windows 11 on a new PC without an operating system is crucial. This guide will take you through everything you need to know, from creating a bootable USB to finalizing the installation, so you can get your system up and running with minimal hassle. Ready to dive in? Let’s make this process as easy as possible!
Table of Contents
How do you install Windows 11 on a new PC without an operating system?

Before diving into the installation process, it’s crucial to prepare everything you need. This ensures that the installation process goes smoothly and that you have everything on hand to avoid any interruptions. Below is a detailed list of what you’ll need before starting the installation of Windows 11 on a new PC without an operating system.
Check the System Compatibility of your PC
Ensure that your new PC meets the minimum system requirements for Windows 11. These include:
- Processor: 1 gigahertz (GHz) or faster with at least 2 cores on a compatible 64-bit processor or system on a chip (SoC).
- RAM: 4 GB or more.
- Storage: 64 GB or larger storage device.
- Firmware: UEFI, Secure Boot capable.
- TPM: Trusted Platform Module (TPM) version 2.0.
- Graphics Card: DirectX 12 compatible graphics / WDDM 2.x.
- Display: >9” with HD Resolution (720p).
Create a new Windows 11 Installation Media
Prepare a USB flash drive with at least 8 GB of storage. This will be used to create a bootable Windows 11 installation media.

For this purpose, you can either use Windows Media Creation Tool or third-party applications like Rufus. You can use Rufus to download the Windows 11 ISO file and then make a bootable USB of Windows 11; the same thing can be done with the Media Creation Tool.
Or you can use this direct link to download Windows 11 ISO file (23H2) then use Rufus or Media Creation Tool to make a bootable USB.
If you don’t know how to create one then you will need to click here to create a bootable USB using Rufus or Media Creation tool. Else, you are going to skip to the next step.
Related Topic: How to Download Windows 11 Pro on USB?
Related Topic: Download Windows within Rufus
Check BIOS and Set USB as the Primary Boot Device
After creating your Windows 11 installation media, the next step is to configure your new PC to boot from the USB drive. This involves accessing the BIOS or UEFI and then setting the USB drive as the primary boot device.
Begin by turning on your new PC or restarting it if it’s already on. As your computer starts up, you’ll need to press a specific key to enter the BIOS/UEFI settings. The key varies by manufacturer but is usually one of the following:
- HP: F10
- Dell: F2 or F12
- Lenovo: F2, Fn+F2, F1, or Enter followed by F1
- Acer: F2 or Del
- Asus: F9, F10, or Del
- Samsung: F2
You’ll need to press the key until the BIOS appears.
Use the arrow keys to navigate to the Boot or Boot Order menu.
In the boot order menu, locate your USB flash drive. Make sure, it is the first option. Confirm the changes and then save and exit BIOS.
Restart Your PC. Now you find the Press any keys to boot from USB on your screen, press any key to continue.
Perform Installation of Windows 11
Once your PC boots from the USB drive, you’ll see the Windows Setup screen. Here, you can choose your language, time, and keyboard preferences. After making your selections, click on Next.
Related Topic: Bypass TPM 2.0 & Secure boot while installing Windows 11
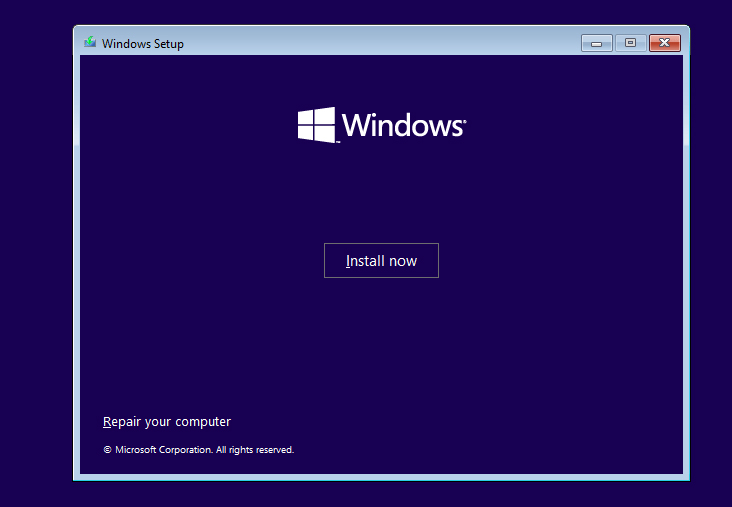
Click on the Install Now button to start the installation process.
Click on I don’t have a product key to continue the installation.
Accept the license terms and click on Next.

You’ll be asked to choose between an upgrade or a custom installation. Since this is a clean installation, select Custom: Install Windows only (advanced).
You will now see a list of available drives and partitions. Since you’re doing a clean installation, it’s recommended to delete any existing partitions where you want to install Windows 11. Select each partition and click on Delete.
Select unallocated space and click on Next.
The installation process will start, and Windows 11 will begin copying files, installing features, and configuring settings. This process can take some time. Your PC may restart several times during this process.
Now Set Up your Windows 11.
Related Topic: Download Windows 11 Activation Keys