Download Windows PowerShell Latest Version
PowerShell is a powerful scripting language and command-line shell developed by Microsoft, primarily used in Windows operating systems. It allows users to automate tasks, manage system configurations, and interact with various services and applications through the command line. And here you will download PowerShell for Windows.
Table of Contents
Download Windows PowerShell
The link given will provide the zip file of PowerShell 7.2. You will download the file directly from Microsoft Server and then do the installation. We have mentioned below how you are going to install it.
You will need a third-party tool such as WinRAR to open the file or do the extraction. Rest assured the files are safe from any sort of threat. You can even check the file for any kind of threat.

File: PowerShell-7.3.6-win_x86_x64.zip
Developer: Microsoft
Size: 102 MB
Category: Utility
PowerShell-7.3.6-win-arm64.zip
Install PowerShell on Windows
To install PowerShell on your computer, you have two options: the regular installer (MSI package) or the ZIP package. Here, we’ll focus on the ZIP package installation method.
In the section above, you will find the download link to download PowerShell for Windows. You’ll see three ZIP archive options to download, depending on your computer’s architecture:
– PowerShell-7.3.6-win-x64.zip (for 64-bit Windows)
– PowerShell-7.3.6-win-x86.zip (for 32-bit Windows)
– PowerShell-7.3.6-win-arm64.zip (for ARM-based computers like Microsoft Surface Pro X)
Download the one that suits your system specs. Once you’ve downloaded the appropriate ZIP archive, you may need to “unblock” the file using a command called “Unblock-File”. This is to ensure that the file is safe to use.
After unblocking (if necessary), extract the contents of the ZIP archive to a folder of your choice. You can use any folder where you want to install PowerShell.
Inside the extracted folder, you’ll find a file named “pwsh.exe.” This is the PowerShell executable. Simply run “pwsh.exe” from that folder, and PowerShell will start running on your computer.
If you are installing PowerShell on an ARM-based computer, like the Microsoft Surface Pro X, it’s best to install it in the “$env:ProgramFiles\PowerShell\7” folder for optimal results.
Download & Install PowerShell from Microsoft Store
1. Go to the Microsoft Store site or open the “Microsoft Store” application on your Windows computer.
2. Search for “PowerShell” in the Microsoft Store’s search bar.
3. Look for the PowerShell 7.2 release and click on it.
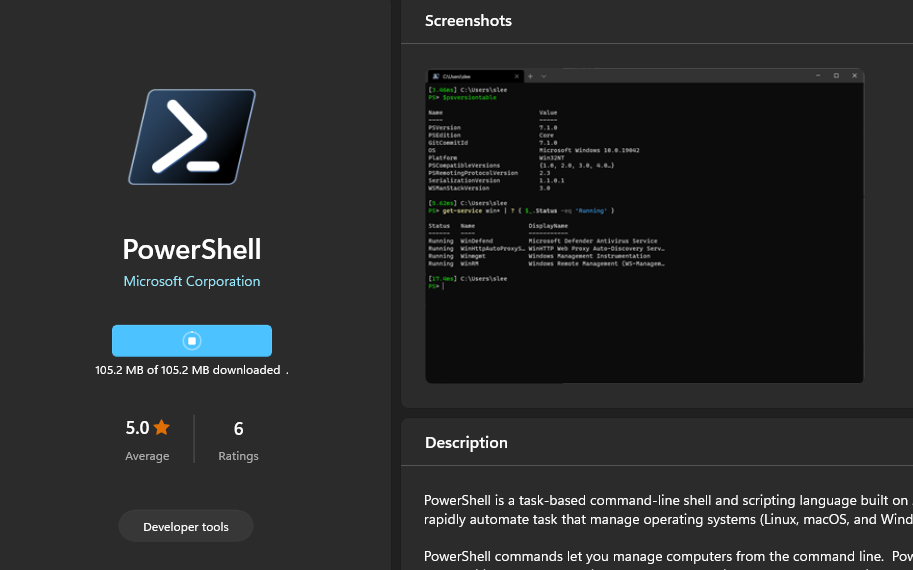
4. Click on the Install button to initiate the installation process.
5. The Microsoft Store package of PowerShell offers some benefits:
– Automatic updates are built right into Windows, so you don’t have to worry about manually updating PowerShell.
– It integrates smoothly with other software distribution mechanisms like Intune (a cloud-based device management tool) and Configuration Manager (a systems management software).
– It can be installed on Windows systems that use different processor architectures, such as x86 (32-bit), x64 (64-bit), or Arm64 (ARM-based processors).
6. Once the installation is complete, you’ll be able to find and use PowerShell 7.2 on your Windows computer like any other app from the Microsoft Store.
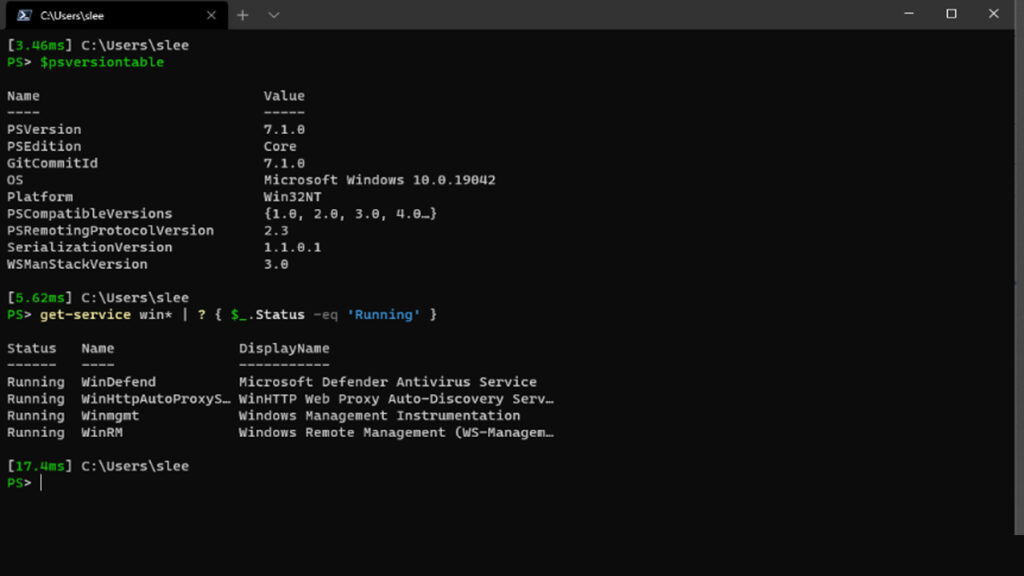
That’s it! You now have PowerShell 7.2 installed from the Microsoft Store.
Upgrade PowerShell to the latest version
PowerShell is a powerful scripting language and command-line shell developed by Microsoft for Windows. It allows users to automate tasks, manage system configurations, and interact with various services and applications through the command line.
To update/upgrade the current PowerShell on Windows to the latest version, follow these steps:
1. Open PowerShell with administrative privileges:
– Type “PowerShell” in the Windows search bar.
– Right-click on Windows PowerShell in the search results.
– Select Run as administrator.
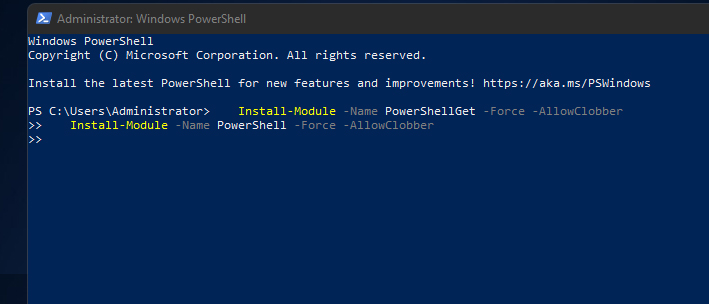
2. Once in the elevated PowerShell prompt, use the following command to update PowerShell to the latest version:
Install-Module -Name PowerShellGet -Force -AllowClobber
Install-Module -Name PowerShell -Force -AllowClobber
3. After running these commands, restart PowerShell, and it will be updated to the latest version available.
That’s it! With these commands, you’ll update your current PowerShell to the latest version on Windows.

